Secure, Train, Irrigate
The nuts and bolts of it all
How to Correctly Secure Your Tree
You’ll notice a difference between plants grown in a field and those grown in a pot. Root-balled trees come from the field. When they’re dug up, the roots are wrapped in hessian, and a metal cage is used to secure the root ball. Over time, the hessian will break down and the roots will grow out into the surrounding soil. Container-grown trees tend to have larger, pot-shaped root balls.
Once a tree is planted, it’s important to ensure that it’s secured, so that it can root out and grow upright. There are a few methods that we use to harness trees into the ground (outlined below). How long should you keep the support in place? How long is a piece of string? It needs to be judged on a case-by-case basis. The tree itself will guide you by its growth, its stability when you shake it, etc. Contact us if you’re unsure.
Staking & Tree Tie Kits
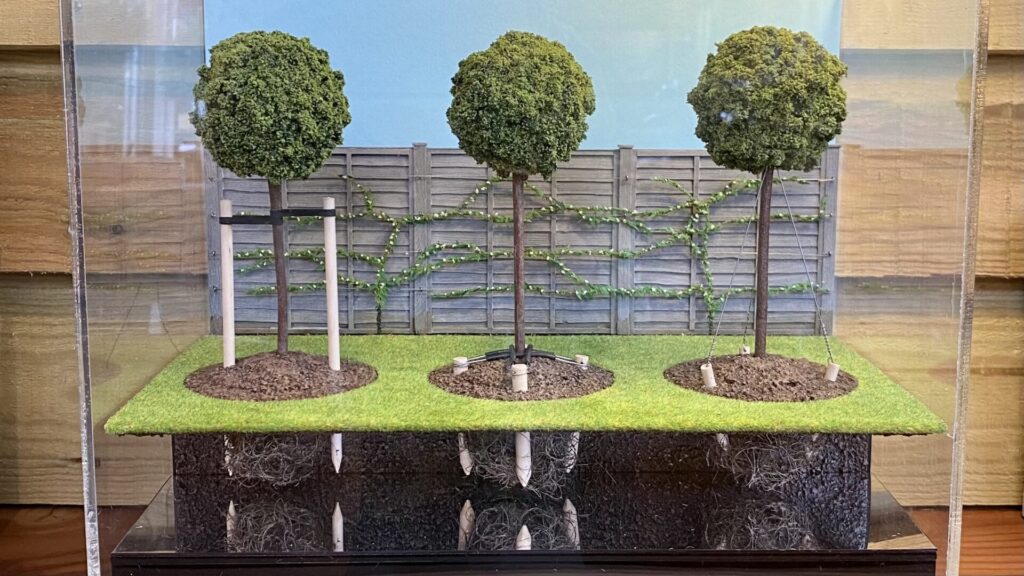
The number of stakes required is determined by the size of the tree. For smaller trees, we use one stake and one tree tie kit; larger trees will require two or three. The stake should be placed vertically – on the side of the prevailing wind – and secured in place with the tree tie kit supplied. When using two stakes, we like to plant in a line, so that the stakes hold the tree securely, but if you were to stand looking at the tree you wouldn’t see any deviation between the stake and the stem. Beware, though: this looks superb when done well, but awful when not.
Some stakes may need replacing if they are left in the ground long enough to rot, or if they’re on a particularly windy site.
AP Anchor Systems
This method works really well with root balls, and is especially useful in an area where it’s impossible to guy (e.g. there’s no surrounding ground in which to set stakes).
It also hides any sign of securing, as everything is below the ground. The Platypus method wraps itself around the root ball underground and holds it in place – just like the anchor of a boat.
We prefer to guy or stake, so we only use Platypus about 5% of the time, when conventional methods aren’t possible due to site conditions.
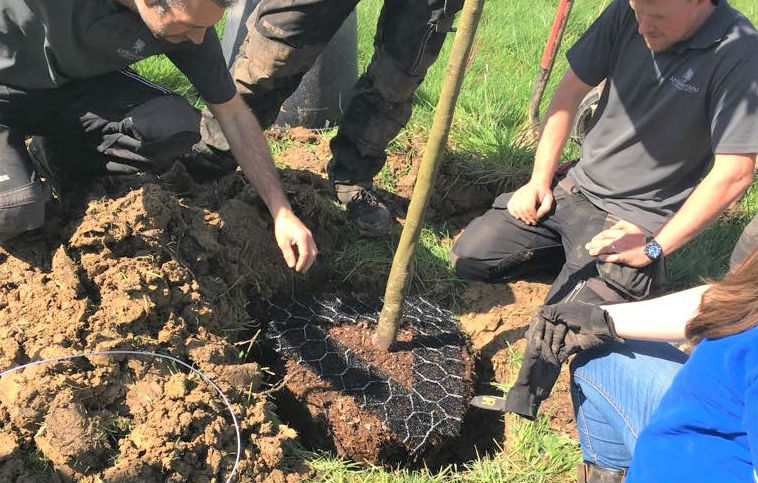
How to Secure and Straighten a Tree by Guying
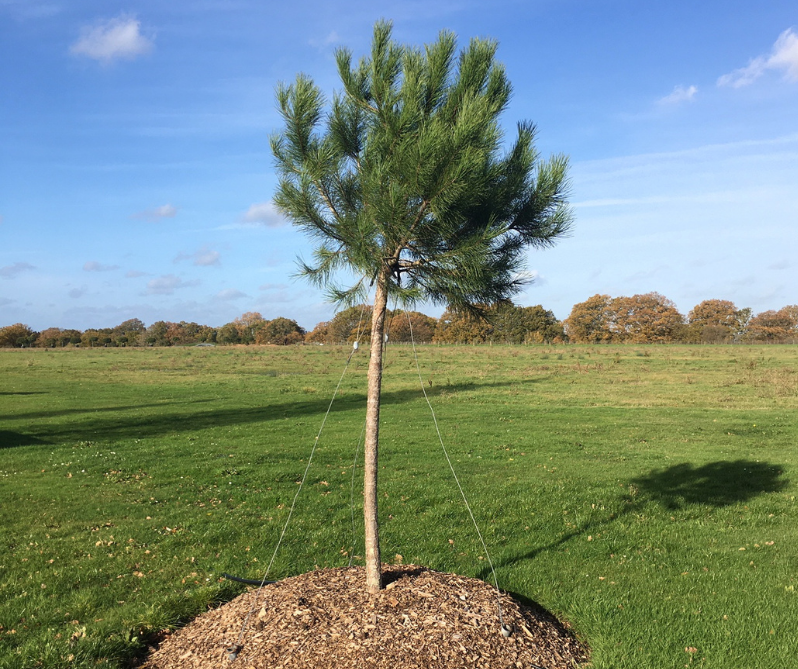
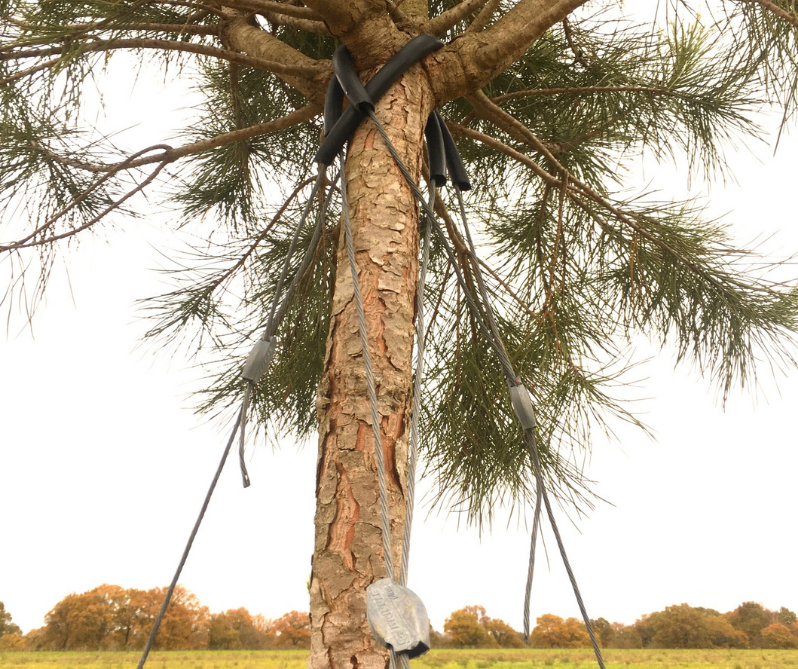
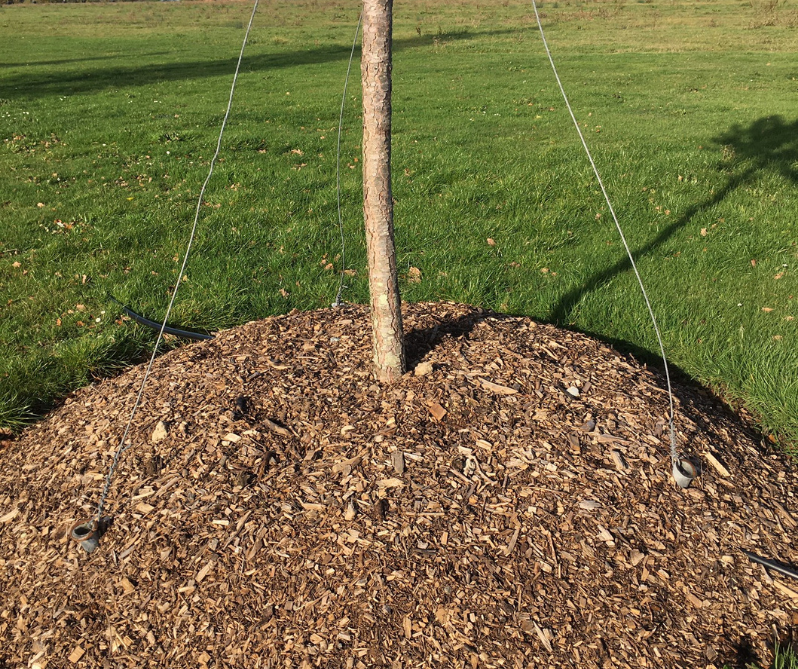
There are lots of examples of guyed trees on the nursery. We developed this method specifically for Pinus pinea, because they’re very top heavy. Stakes are used as pegs (like you see on a tent), whacked into the ground at an angle. Then, wire is used to hold the tree in place. Where the wire meets the stem, it’s wrapped with rubber protection. Two or three guy points are recommended.
Training Your Tree
Caning & Tying
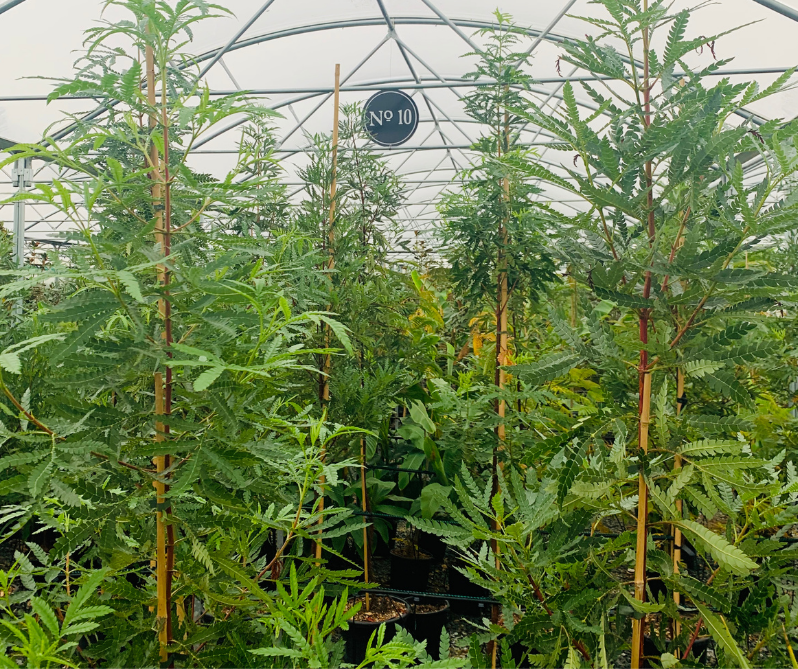
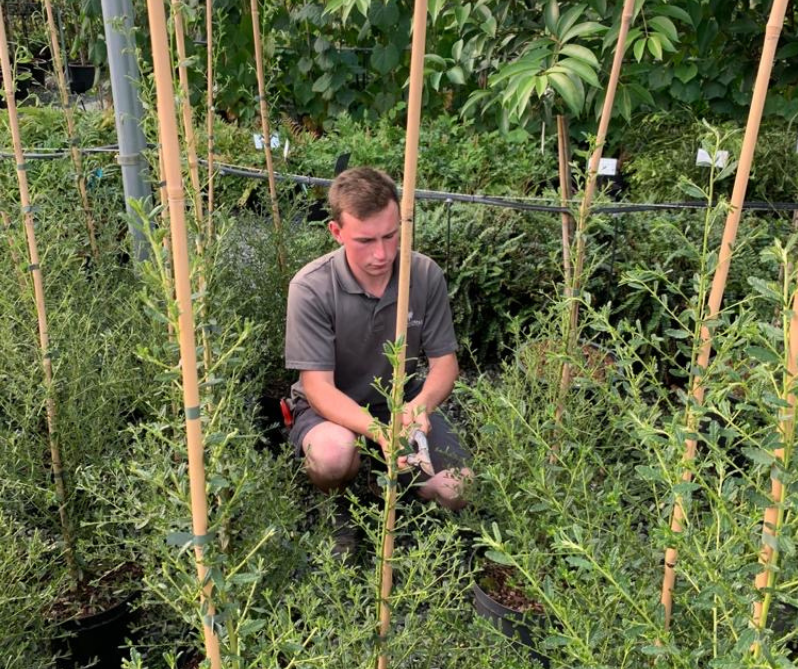
The use of a cane to support a tree’s growth is important. It gives you somewhere to tie on and train the new growth. Lots of plants require cutting back regularly, especially if they’re fast growing. Cutting back slows growth down and hardens it so that, over time, it’ll become stronger, more stable and self-reliant. In terms of the type of cane, we’ve always been big fans of bamboo.
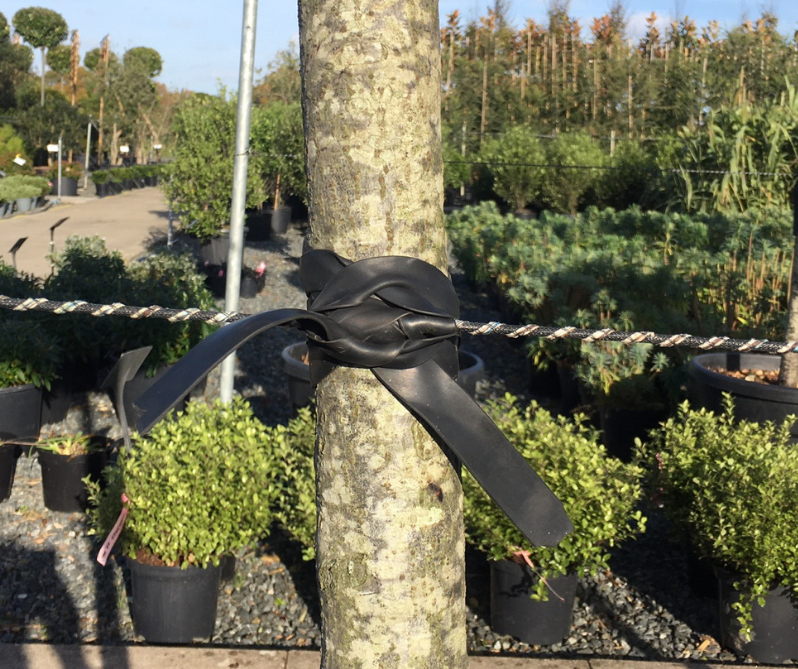
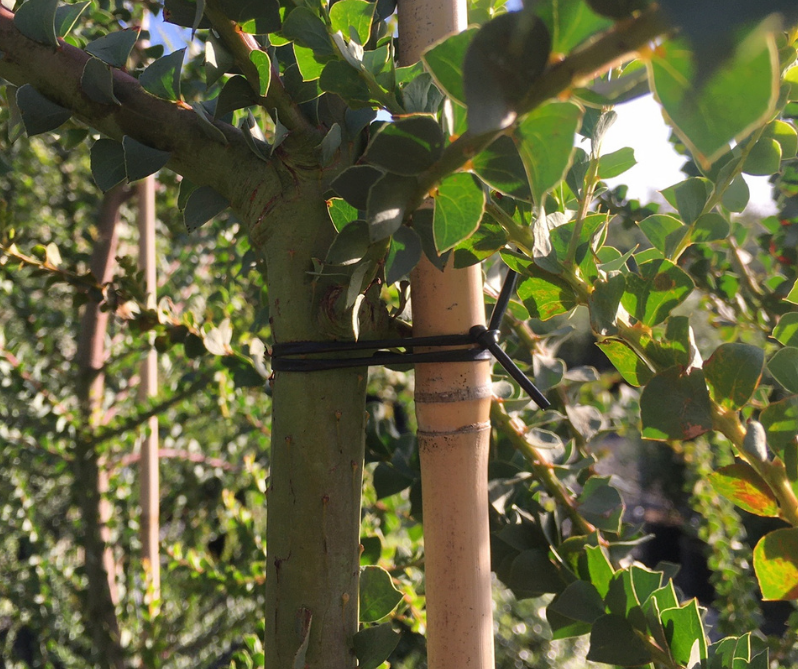
For tying we use a rubber product. We call it ‘spaghetti’. It’s a flexible and soft material, which doesn’t damage the plant. It’s important that when tying anything to a plant you allow room for growth, so that it doesn’t cause the plant any problems as it develops.
Simple Garden Irrigation Guide
Please note that the below information should be used as a guide only. Every year is different, and it’s important that you make decisions based on the weather in real time.
Irrigation Timeline
November – February
You need to keep an eye on the weather forecast and pay particular attention to any reported frosts.
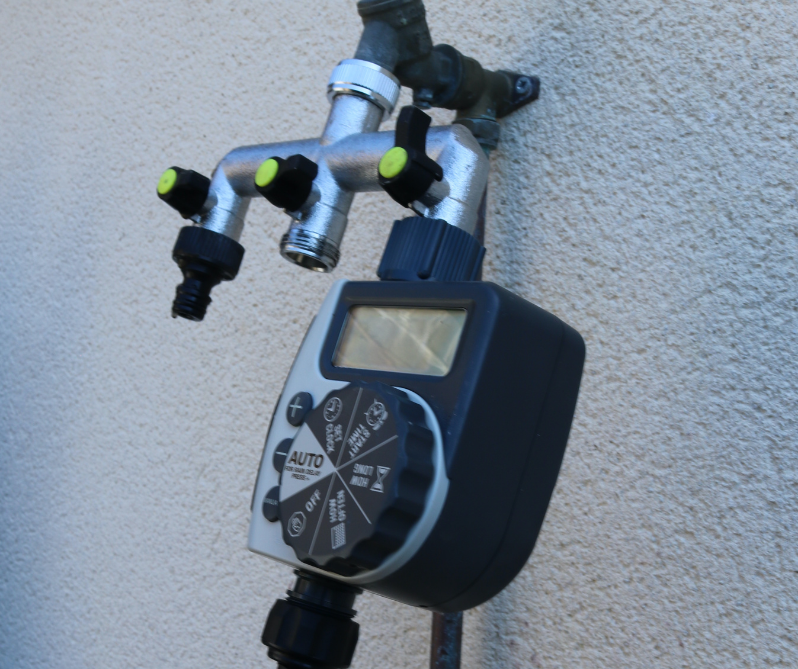
In the event of a frost, the manifold (the bit attached to the tap) and the timer should be taken inside. Make a note of the setting it’s on and then ensure you remove the batteries from the timer. Removing the manifold will drain the irrigation line of water, which will reduce the likelihood of winter damage.
Once this has been done, a gardener’s only real concern during the winter is a dry, windy spell. Wind in the absence of water can easily cause damage – bamboo is a particularly vulnerable plant in these conditions. Once you’ve turned the irrigation off for the winter, should such weather hit we recommend manual watering. If you’re at all concerned, please contact us for advice.
February – March
There is no specific date on which we recommend turning your irrigation back on. This will vary from year to year. You need to look for signs of warmer weather and the absence of frosts. Once you’re confident that the worst is over, dig out your manifold and timer from the man drawer, replace the batteries and reset the timer (see instructions below, if needed).
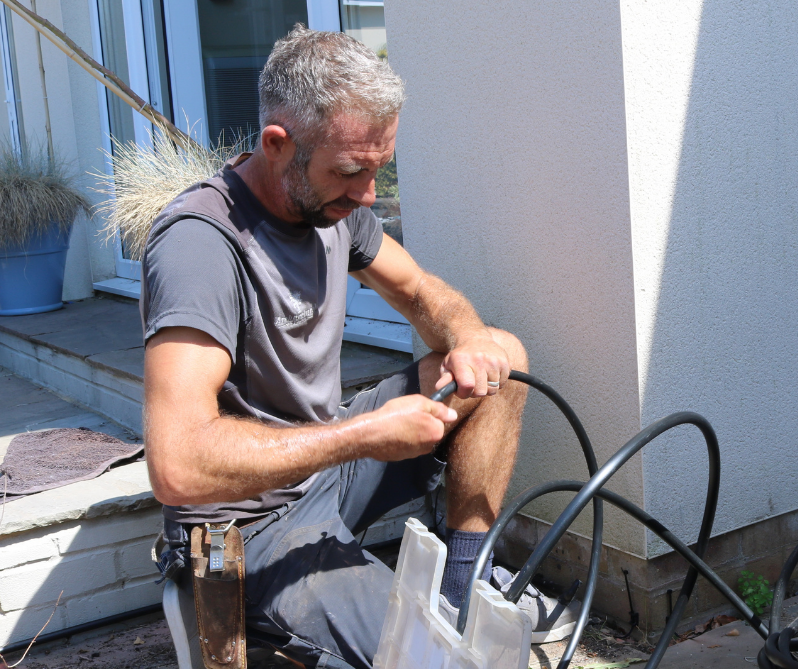
If you notice anything along the irrigation system requiring repair (a leak, or no water reaching some of the plants, for instance), please contact us and we can arrange a site visit to carry out repairs. The best way to test the whole system is to run it on manual and check the end of the line. If there’s good pressure at the end, you can assume there are no leaks. That said, we do still recommend that you walk the line back to the tap to double check for any hidden issues.
Using Your Irrigation System
The speed of establishment of plants when using an irrigation system can be remarkable. But, although we’re great fans of these systems, they’re certainly not foolproof. As a result, on a heavy soil during a wet summer, it’s quite possible to overwater.
We often install a tiered system: the plants requiring the MOST water are the FIRST in line to get it – usually bamboos and fast-growing herbaceous plants. (Even when it’s really wet, these plants are hard to overwater.) After this stage in the system, there will be a tap in the pipe to isolate the rest of the plants that need less water. This can then be turned off if necessary – if it’s a particularly wet summer, for example.
Occasionally, after very heavy rain, it may be appropriate to turn the whole system off. Please contact us for guidance if you’re at all unsure. For an irrigation system to be effective and successful, the gardener must be observant and responsive.
The Timer
As noted above, the timer and manifold need to be removed and put in the dry over winter to prevent damage from frost. The date on which you do this will depend on the weather. When you put the timer back out the following year, replace the batteries (2 x AA).
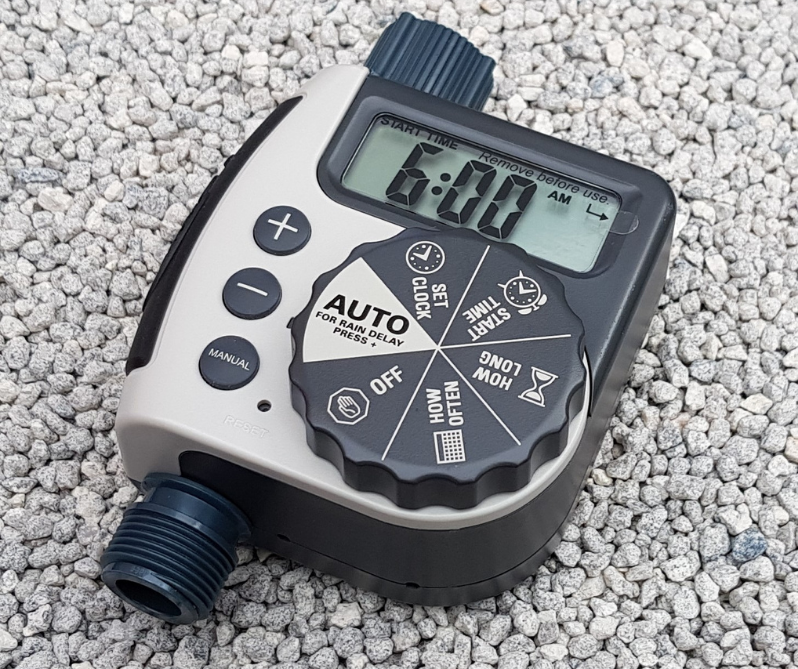
The timers we use are brilliantly designed and very easy to programme. Here’s some help if required.
1. To test, press MANUAL. It will then turn on for 10 minutes, allowing you time to whizz round and check that it’s all working.
2. To set the length of time you’d like the irrigation on, turn the knob with the small arrow to HOW LONG.
3. To set the frequency with which the irrigation comes on, turn the knob with the small arrow to HOW OFTEN.
4. To set the time at which you want the irrigation to start, turn the knob with the small arrow to START TIME.
5. Having completed steps 1-4, turn the same knob to AUTO.
If you have any problems at all with the irrigation system we’ve installed for you, please contact us.

